3D printing, the setup
It's been about a month since I got my first 3D printer. I have been having so much fun that I've hardly shared on social media. When I saw Chris tooting about getting into 3D printing; it occurred to me that my experience could help others getting started.
What we got, and why
My oldest kid is really into the same sorts of nerdy things I am. He has been talking for ages about printing miniatures and tokens for his board games. It got so far that we were asking around for local cheap 3D printing services. We kept on hearing that resin printing is better for small pieces, but nobody around these parts was offering resin printing.
My wife did a little looking and found a small resin printer on special. The Creality Halot R6. I knew nothing about 3D printing, or 3D printer brands; so this could have been a huge mistake. I'm pleased to say that were were as lucky as we are satisfied with it, so far.
The printer cost roughly $185 (ZAR 3,500). We pay a heavy premium for etch like this, in South Africa; so I am happy with that price. We also bought the washing/curing station (UW-01) for about $140 (ZAR 2,700).
They arrived after a couple days, and I rushed home to unpack and get started.
Unpacking
The setup process is super simple, with this printer. I watched a few YouTube vides between buying and getting the stations; so I had a good understanding of what I needed to do. Regardless, the setup instructions provided were comprehensive and easy to understand.
- Screw everything together (3 screws?)
- Use the included card to level the bed
- Tighten the plate screws after level
- Add resin
They provided a USB stick with a couple sliced models and the slicing software. My first impression of the slicing software was spot on. It's crap.
Proprietary slicing software seems to be a fixture of this place, so I think I'm stuck trying to make the best out of a bad situation. This is what it looks like:
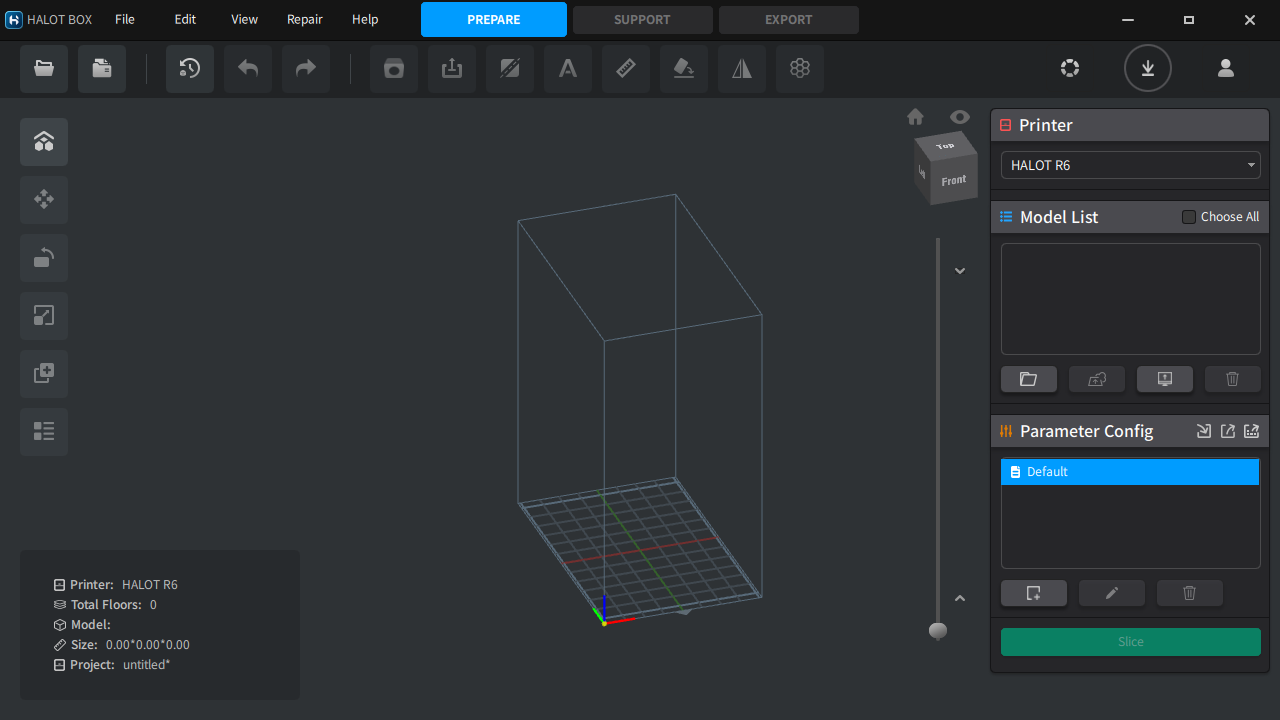
Halot Box
Notice that little dropdown in the top right? That's not set to the R6 by default. I spent 20 minutes trying to figure out why the models I sliced weren't being picked up by the printer. They didn't even have the same file extension as the bundled slice files.
Overall, I think Halot Box is fine. Average. The problems are small but noticeable. Even though there's a clear print size (bottom left); I find it difficult to translate this into the actual size. It's the sum of all individual models in the same print, so you can't really tell how big each thing is. There's no snapping, as far as I can tell, so sizing accurately is difficult.
There are helpful rotation snaps and mesh splitting features, though. I'll talk more about the mesh splitting, later...
I didn't want to print one of the bundled models, so I looked for one online.
Models
I started collecting models on Thingiverse.
Thingiverse sucks.
There are a lot of cool models, but the site is riddled with tasteless advertising. Every third click opened a huge ad overlay. There are pop-under ads. I am sure they are making a non-zero amount of Google AdSense revenue, but it sucks for users.
I don't use an ad blocker or Pi Hole. I probably should, but I do not care to be spoken at about them.
Most of the models on Thingiverse have an STL file, which drops right into Halot Box. For those that don't, I just googled for an online thing-to-STL converter. You will need this more than you think; so find one you like and bookmark it.
One of the constraints of a resin printer is the print volume. The resin sits in a tray and the build plate is dipped into it. The R6's build volume is 130mm x 82mm x 160mm. Anything I print with it needs to be smaller than that. The 160mm is the height limit, but the taller the printer is the longer it takes.
This is an important difference between extrusion printing and resin printing. In extrusion printing, the size of the model determines the time it takes to print something. In resin printing, the thing that takes all the time is the number of layers. The printer follows this pattern:
- lower the print plat into the resin, leaving the layer thickness of space between the bottom plastic later (FEP) and the build plate.
- Expose the resin in each later to strong, focused UV light from between the FEP. The first few layers are exposed for longer so that they make a good bond with the print plate.
- The print plate is raised to detach the cured resin from the FEP and allow uncured resin to flow back in between the cured layers and FEP.
- The print plate is lowered to the layer thickness and the next layer is exposed.
This means the total print time is roughly:
(q starting layers x r time per starting layer) + (s layers x t time per subsequent layer) + ((u time to raise and lower the plate + v light off delay) x w total layers)
In default R6 settings, Halot box will use the following values:
- q = 2
- r = 40 seconds
- s = 181 (example model)
- t = 3 seconds
- u = 5mm at 2mm/s x 2 = 5 seconds
- v = 4 seconds
- w = 183
That's at least 38 minutes, not counting the time it takes the print plate to move fully up and down the z axis, at the start and end of the print. There are other variables that can't be controlled. Halot box tells me this example model will take almost 52 minutes to print.
In contrast, a 20 layer (1mm tall) model will take almost 7 minutes.
The taller your 3D print model, the longer it will take to print. If you have more money to spend on a resin printer, I suggest getting one that optimizes for x + y not z.
Fortunately, Halot Box estimates what the resin usage will be for a print; so you can load the resin tank with slightly more than you'll need and leave it running over night. It even estimates the resin usage for supports!
Speaking of which...I was pleasantly surprised to find that Halot Box can automatically generate supports for prints. This seems to be a common feature, but I'd hate to be saddle with a printer whose slicing software was unable to do this for me. It's tedious and you'll almost certainly do it wrong until you have seen a lot of automatically generated supports.
Even if I could avoid this proprietary slicing software, I would probably still keep using it for this feature alone. Most of the time you click a single button and all your supports are done. There may be times when you want to customize the density and structure of the supports, but by that point you sorta know what you're doing.
Resin
When I started, I thought I'd have to carefully measure the resin I'd need for each print, and clean the tank each day. That's not the case. Firstly, the orange cover (or whatever your printer has between your face and the print plate) is a UV blocker. You don't want to be staring at a UV light, and you also don't want ambient UV light hitting the resin where it's not supposed to be curing.
You can leave resin in the tank overnight. I have left it in the take for a couple weeks without any serious issues. I do think there's merit in periodically cleaning out the tank. For starters, continually adding resin to the tank will start to discolor the resin.
I use a water washable white resin, and I can see it browning slightly over time. If you use water washable resin, it's even easier to clean. Speaking of which: you should definitely clean any splashes or smudges of resin on the UV blocker. Unlike the resin you leave in the tank, thin layers of uncured resin will cure with ambient UV light.
Ask me how I know.
Clean your hardware after each use. If you're using the water washable stuff, you have zero excuse.
Before we move on, I'd like to talk a bit more about the water washable stuff. I have only used this, and it has served me well.
Washing
The main benefit is that you don't need to buy/filter alcohol for washing. It's super not expensive, but it's an extra expense you can avoid it's a bit more expensive than the alcohol wash stuff, but it's easier to clean and cuts steps out.
For comparison, 500g water washable currently costs me about $26 (ZAR 500). 500g alcohol washable costs about $21 (ZAR 400). 25L 85% Isopropyl alcohol costs me about $96 (ZAR 1800), though it can be filtered and reused for a while. I'd rather just not bother with the alcohol.
I find the UW-01 to be under-powered when washing the water washable stuff, so I use a strong faucet to wash the uncured models.
Oh, I should mention that the process is:
- wash
- cure
- finish
Some folks recommend washing multiple times in the washing station, and washing after removing supports. I recommend after removing the supports, but if you use a higher water pressure wash then once before and once after removing supports is more than enough.
Uncured resin will feel sticky to the touch, you aren't doing anything wrong. A cured model might even still feel a little tacky after curing, but that goes away with the tiniest amount of sanding.
- Wear gloves as much as possible
- Sand your models, you'll appreciate the better finish
- Wear breathing apparatus when sanding and spray painting
- Wear eye protection if you need to use a Dremel or other electrical finishing equipment
You can lie to yourself that you won't breathe stuff in or absorb chemicals through your skin, but you're being silly. If you plan to do this more than a week, wear protection. Best case you will get severe sinus inflammation, worse case cancer.
Finishing
As I mentioned, sanding is very worth it. Perhaps harder if you plan to print detailed miniatures, but I haven't struggled with those yet.
I use a set of small files to get the worst of the excess off. When you print flat against the print plate you get what I like to refer to as lividity:
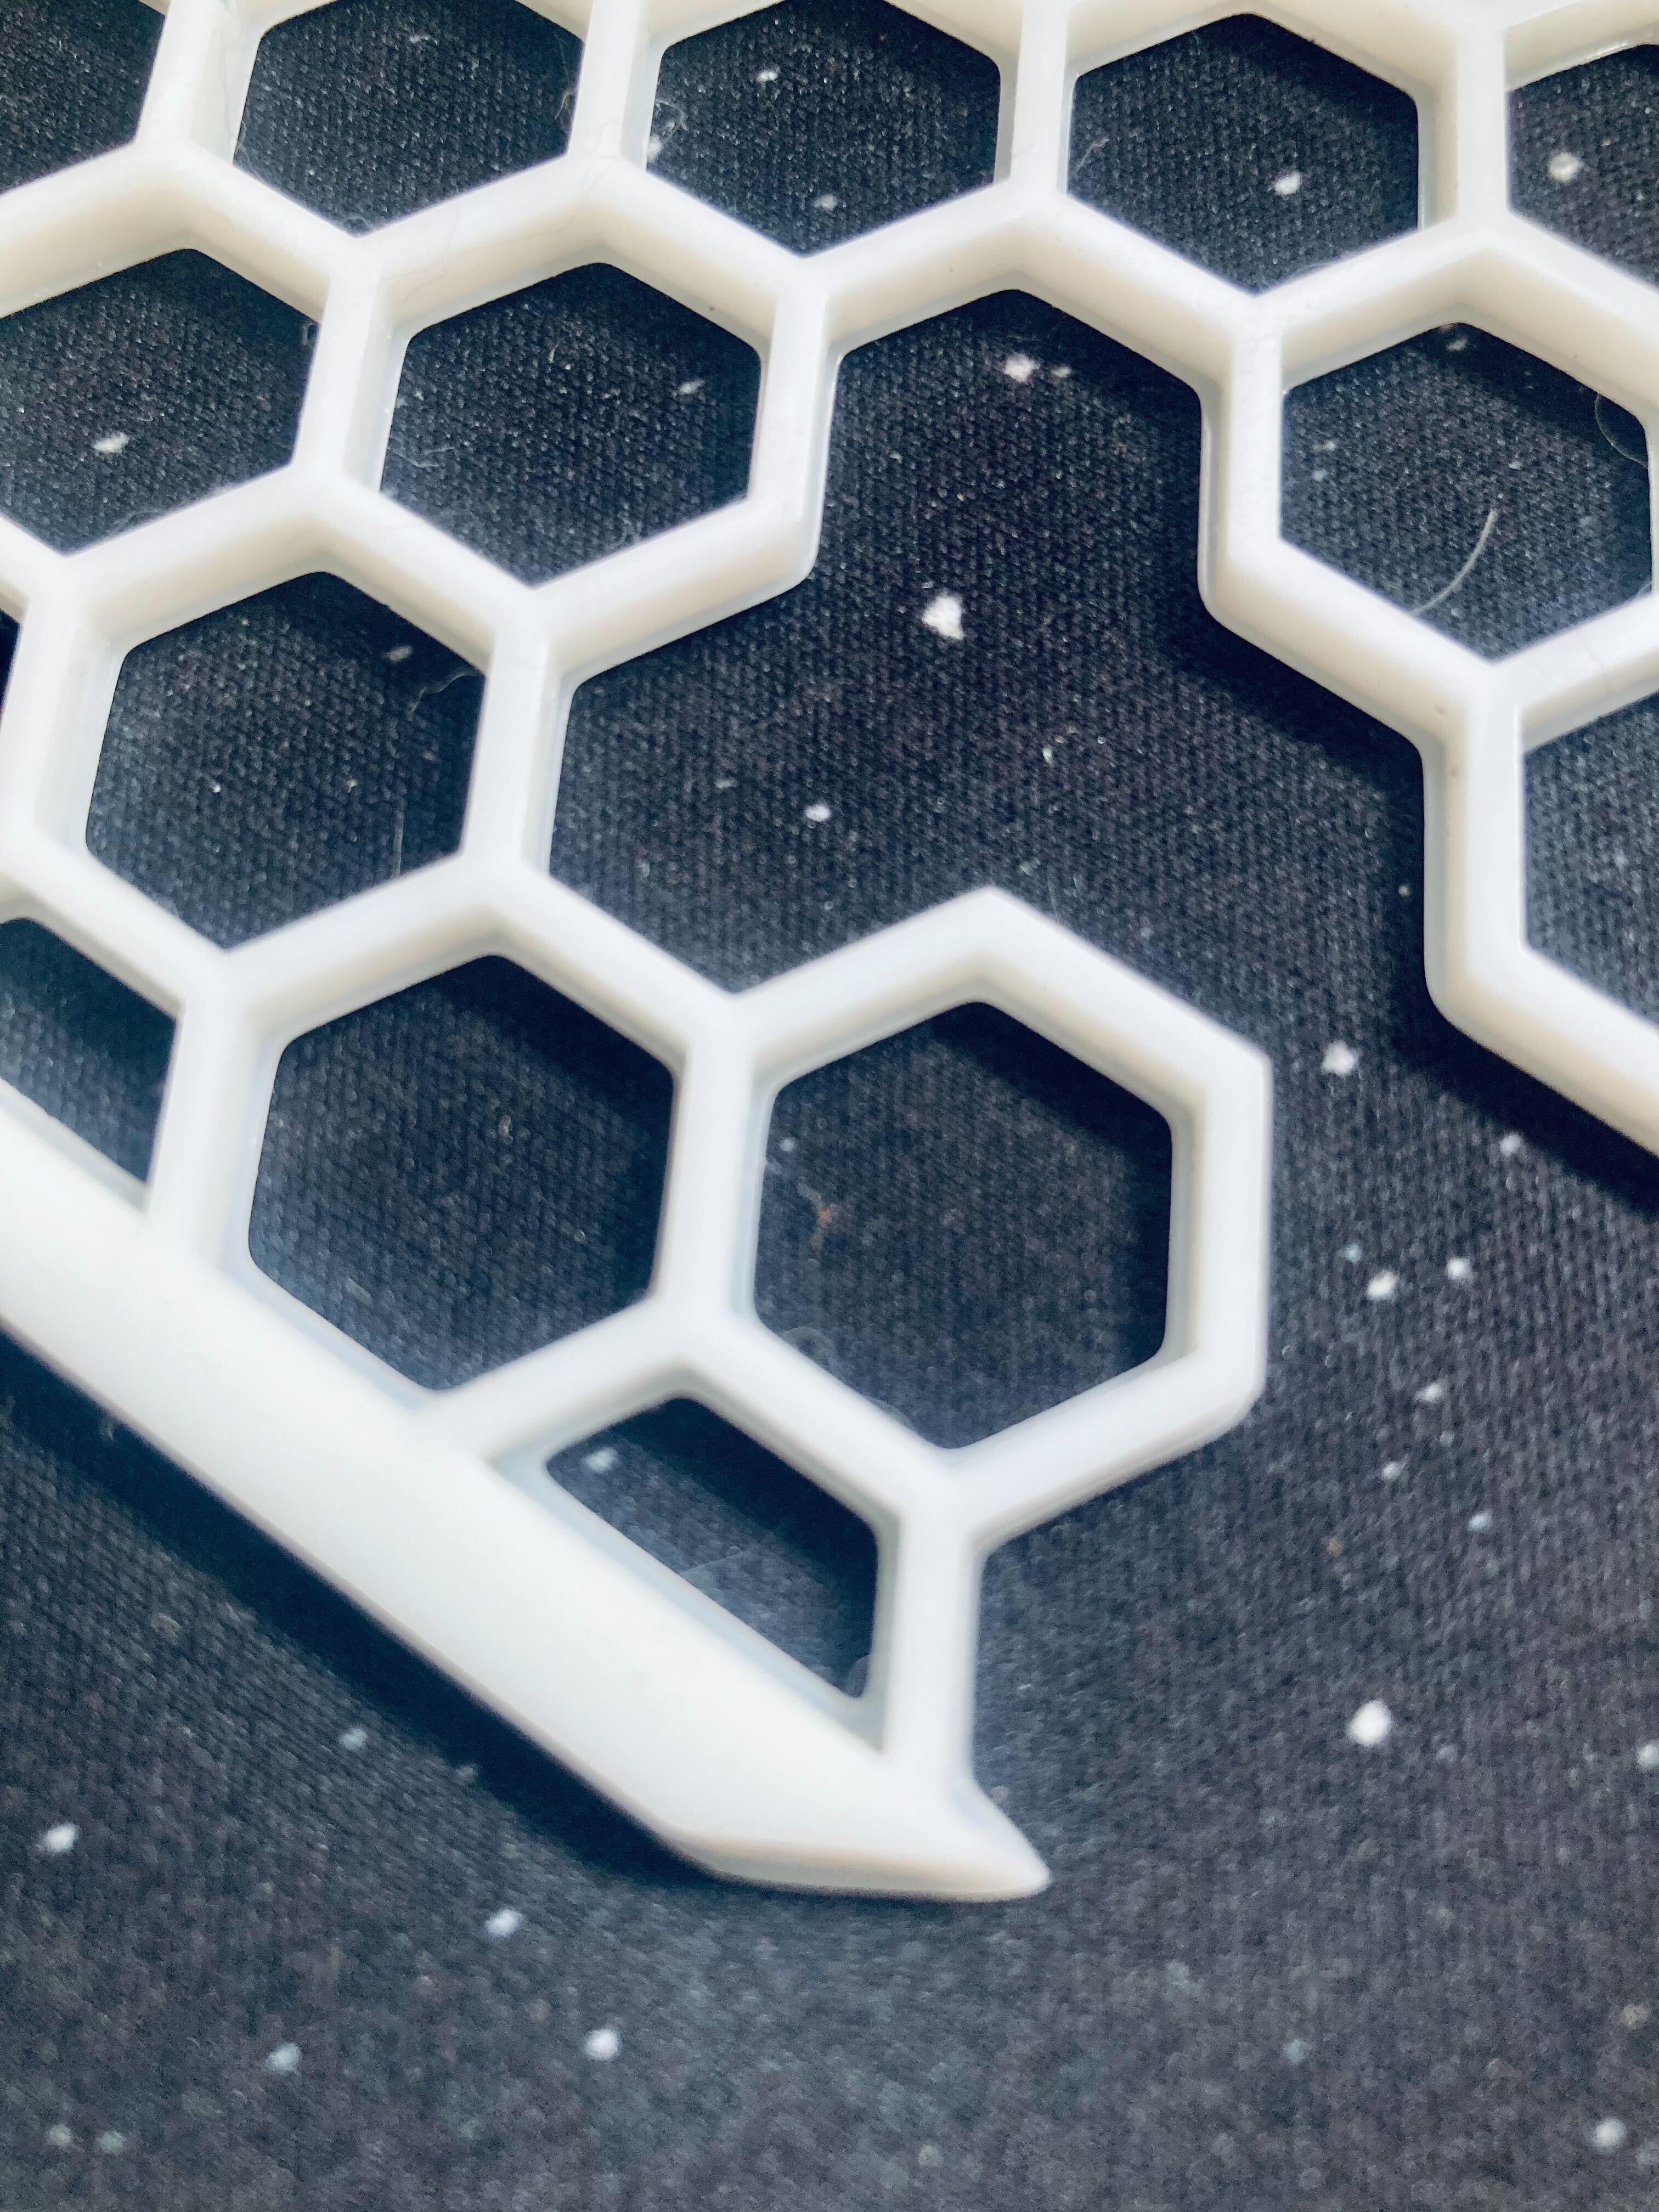
First layer over-curing
Notice those little lips at the bottom of the print? As the bottom couple of layers are exposed for longer, more of the resin cures than what is supposed to. You get a very smooth surface where the curing was supposed to happen, but you also have to clean this excess up.
The small files help loads with that:

Small tools
Cut what you need to cut before curing (especially support nubs and dingleberries). Sand what you want flat after curing. I leave the lividity removal for after because I want those edges to eb flat, and sanding allows more control than a pre-cure cut.
Sanding
I don't want to talk too much about sanding. I don't enjoy it, and I'm not an expert. That said, there are some things I've learned as relates to resin printing. If you want the surface to be smooth, the easiest way to prepare for this is to print that side against the print plate or parallel and facing away from the print plate.
Remove edge excess with a small file. begin sanding with 220 grit. If you're sanding a flat surface then place the sand paper down on a surface and drag the piece over it:
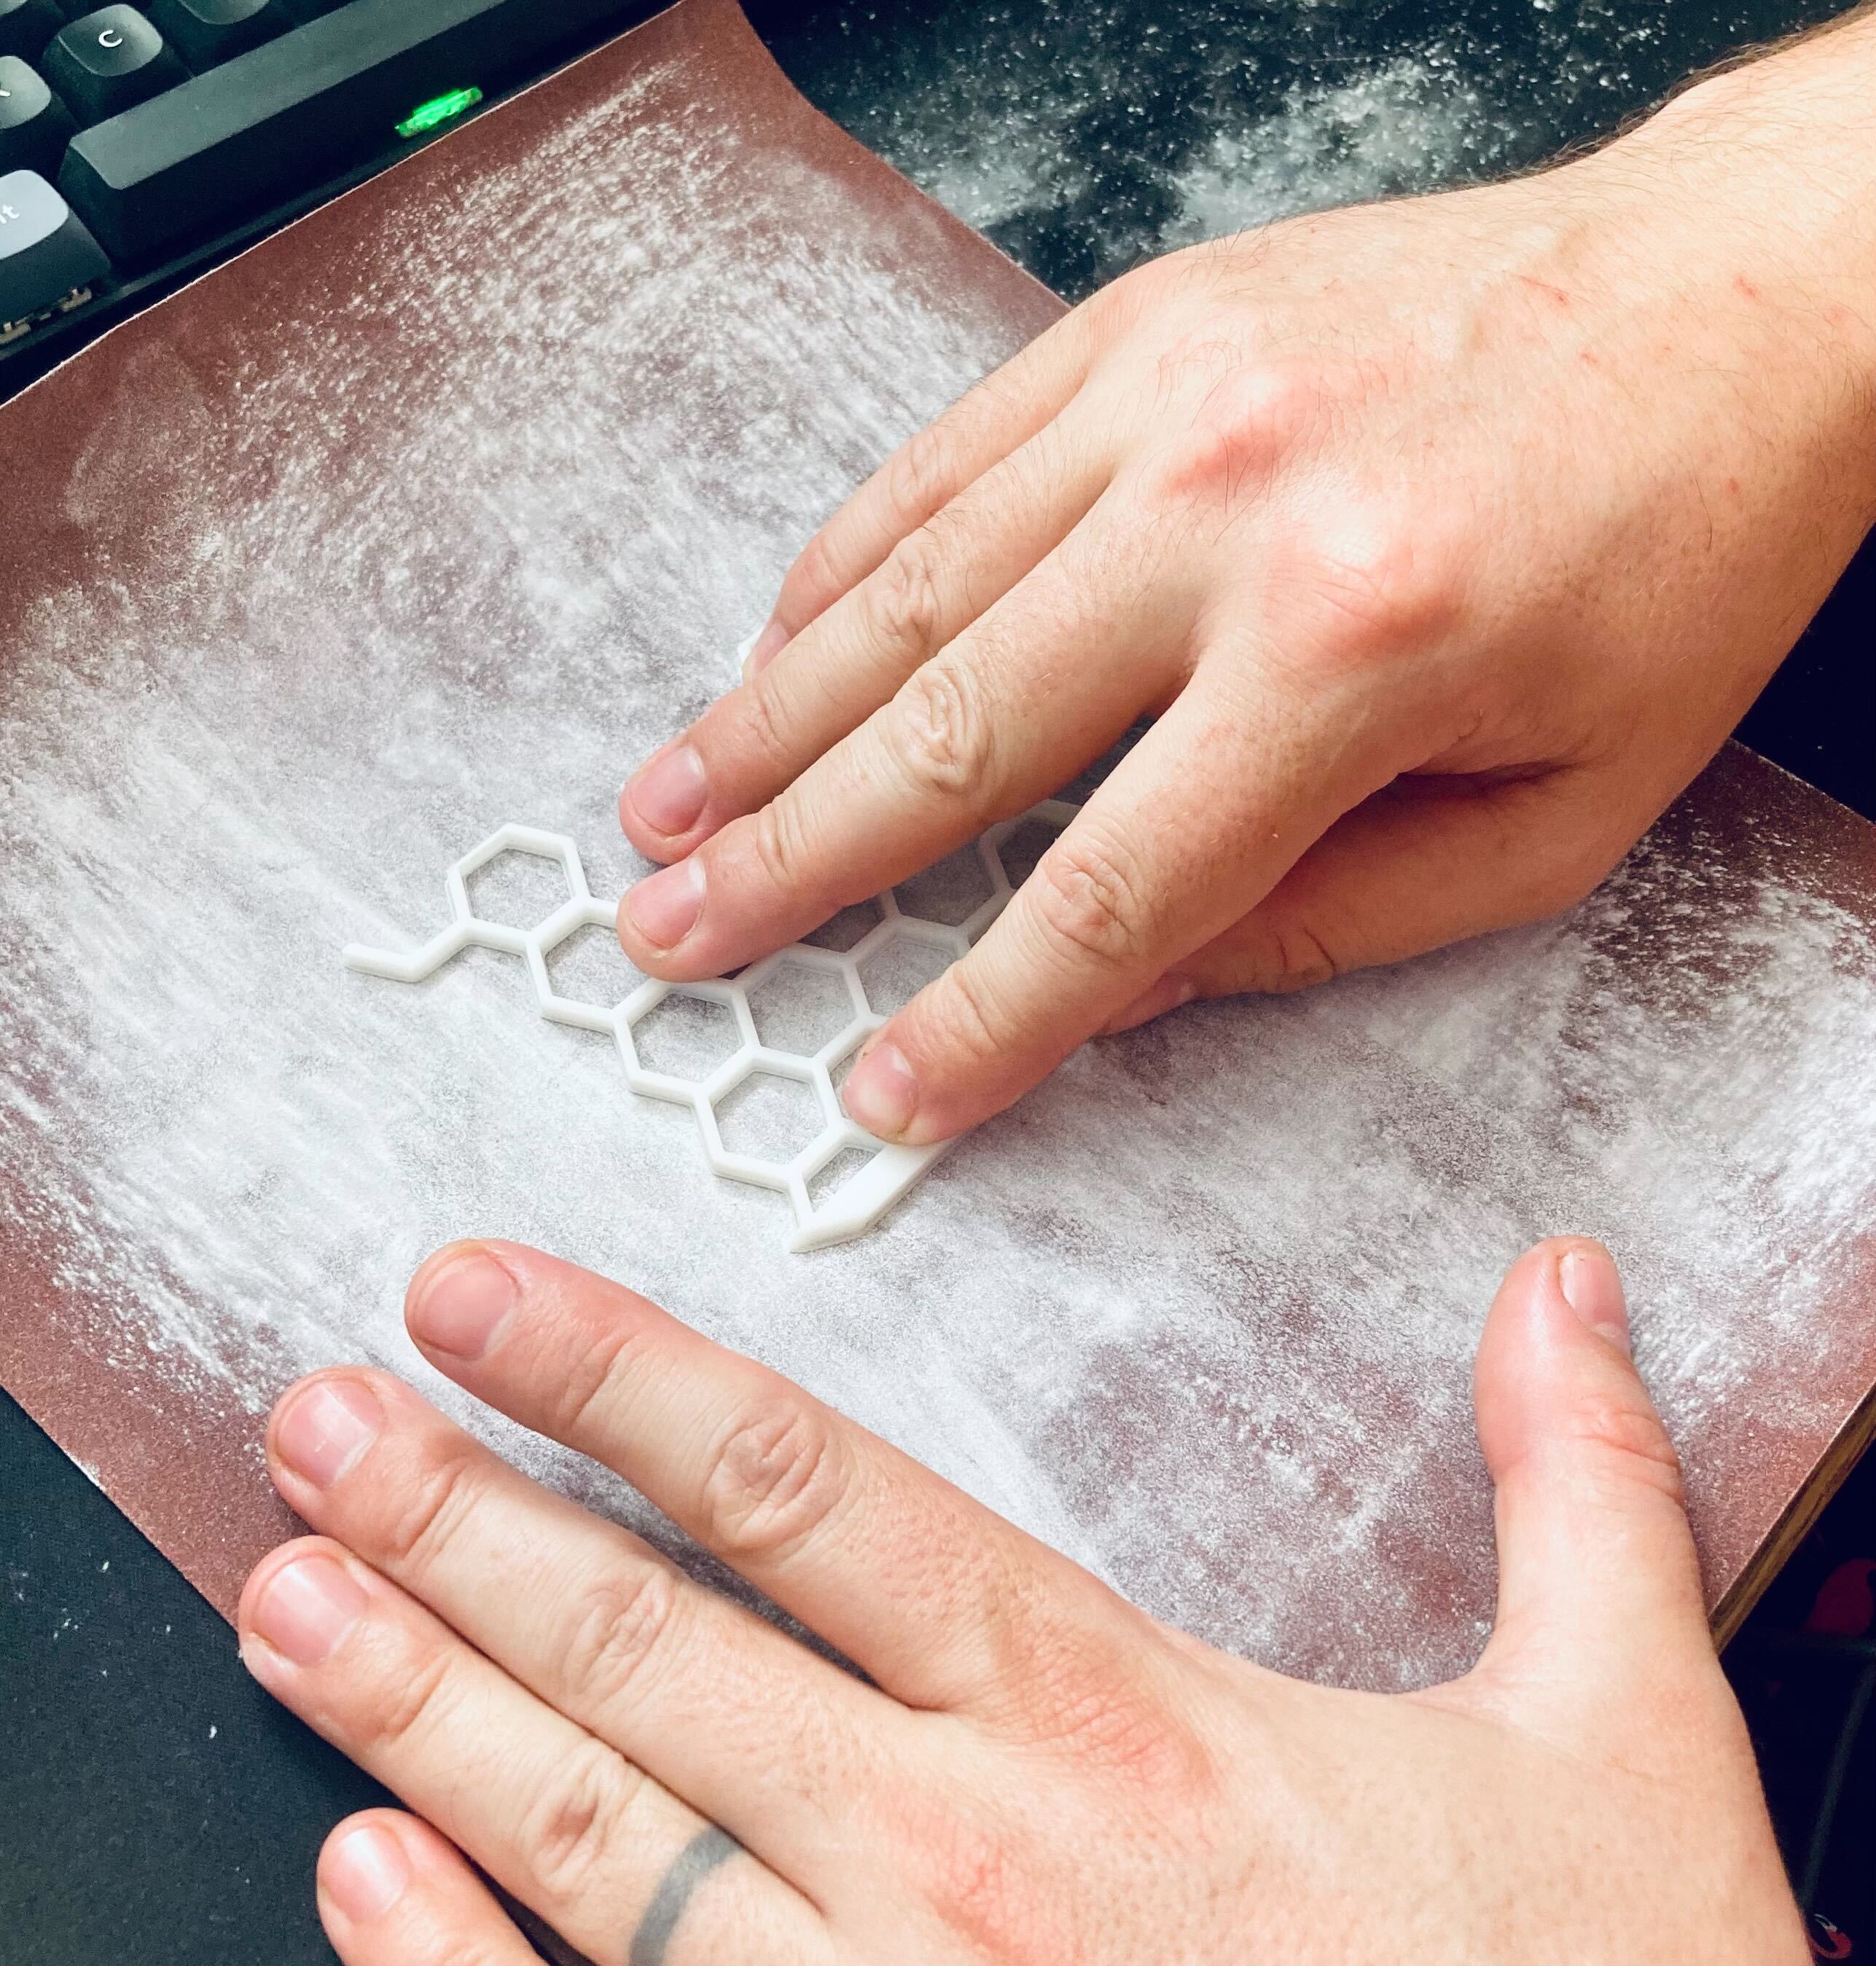
Sanding flat surfaces
Increase the grit for increasingly smoother surfaces. 220 then 400 then 800 etc. If you want to paint the piece then you do still need some texture for the paint to adhere to, so you can probably stop at 220. Same thing if you are planning on gluing to the surface. You will need to glue...
Gluing
You can use super glue (and you'll need that if you have an extrusion printer) and want to connect parts of a larger whole together. My print plate is pretty small, so I've had to glue a bunch of model sections together.
If you have a resin printer, I actually recommend using resin as a kind of glue. Paint it on with a brush and expose the uncured resin to sunlight or put it in the curing station. You can even buy a small UV torch to expose it more conveniently:
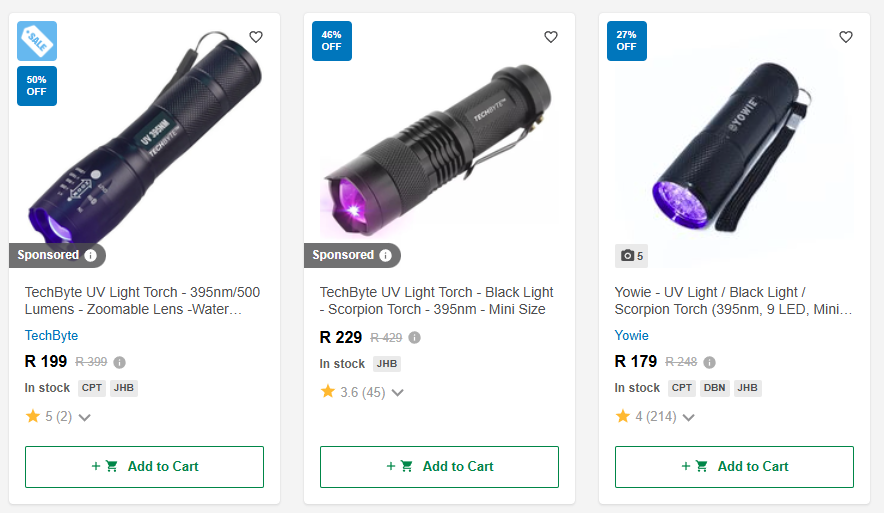
Cheap UV torches
The neat thing about using resin as glue is that you won't see the join in a finished, sanded piece. Stick to thinner, more numerous layers so that you're sure each layer is properly cured.
Painting
If there's something I hate more than sanding, it's painting. One of my first prints was a custom keycap, and I tried painting it with acrylic paint. It was a nightmare. I recommend spray paint, and learning how to properly spray paint.
You might need to paint small details in acrylic, but you'll get a better finish by starting with spray.
Final thoughts
This has been a bit of an info-dump. As I said, I'm still new at this. I might come back and revise to add to this. I'm planning a couple more posts about this stuff:
- Making models from scratch
- Parsing models with code
Check back or subscribe to the feed.